

Backsplash projects are easy to go through, and you can complete these projects on the weekends. Materials like smart tiles make the process easier. Let us take a look at how to setup BELK Tile backsplash glass tiles in your home:
- Sand the backsplash wall surface with 80-grit sandpaper; both thin-set as well as floor tile mastic will adhere better to a roughened surface. Wipe the sanding dust away with the help of a damp towel.
- Apply the mastic or thin-set to the wall surface with a notched trowel. The ridges produced by the scratched trowel will drastically boost the adhesive’s bond strength. Spread only sufficient for a couple of square feet of floor tile each time, lesser if using small private floor tiles.
If you’re using mastic as well as you notice that a skin kind on the surface, scratch the wall clean as well as use a fresh layer, the skin implies the mastic has actually started to dry completely and will not bond properly to the ceramic tile.
- Set the first training course of floor tiles along with the countertop at the end of the wall backsplash. Press firmly every tile in the thin-set or mastic—use plastic spacers to keep consistent grout joints. The size of the spacers varies relying on the size of the floor tile, but for backsplash tiles, you’ll probably discover yourself utilizing 1/8- or 3/16-inch spacers.
- Fill up the joints between the floor tile with cement. Usage sanded grout to fill any kind of tile joints that are 1/8 inch or wider, as well as make use of an unsanded cement for narrower joints. For glass floor tiles, space closely as well as use epoxy or unsanded grout that will not scratch the surface of the tile. Mix the cement and water like the thick yogurt and use it to the floor tile with the help of rubber grout float.
Smear the cement diagonally across the floor tiles, compelling it deep into the joints and afterward cleaning the excess from the surface area. After plastering, clean up the backsplash using a moist sponge, which aids to push the cement fully right in the joint as well as establishes tidy lines between tiles.
- Block the edges. Any edge or joint wherever the tile fulfills an additional surface like the kitchen counter should not be grouted, but caulked. Utilize a silicone caulk developed for kitchens and bathrooms, in a shade that coordinates with your layout.
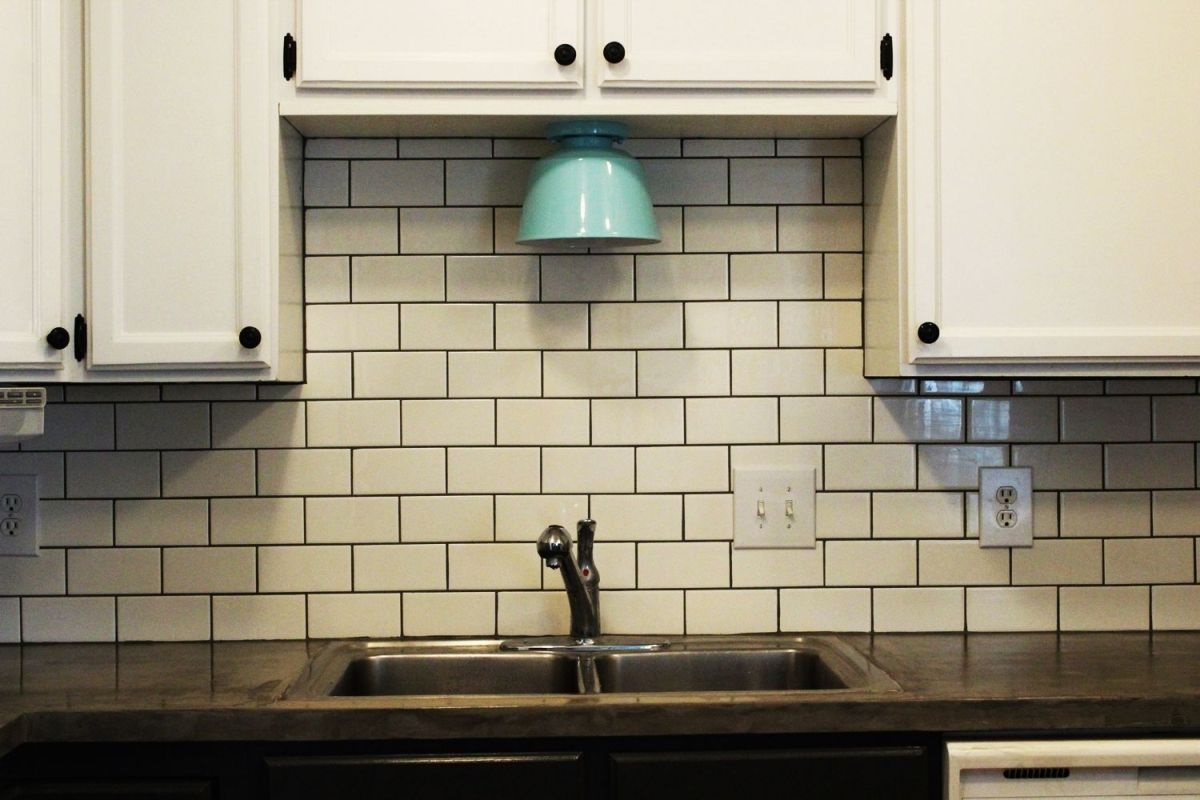
- Respace electrical outlets. With the included thickness of the band-new floor tile, the outlets will no longer be flush to the front of the backsplash. Respace them with outlet spacers, little plastic pieces that slide in between the outlet and wall box. You might need somewhat longer screws. Be sure to switch off power to the circuit at the major electric box prior to dealing with electrical outlets.