
Around 4 percent of US homes are currently powered by solar energy. But industry insiders expect home solar installation to more than triple by 2030.
The environmental and financial benefits make this a smart move for homeowners. While the cost of installing solar panels is lower than many people assume. That said, there are certain steps you have to follow when doing commercial solar panel installation corona ca.
Want to learn more about the steps involved in solar panel home installation? Let’s take a look!
Step 1: Final Site Visit
Once you’ve signed a contract with a solar panel provider, such as Blue Raven Solar, an engineer will come to your property to perform a series of final checks.
Whether they’re an independent contractor or work for your solar installer, they will confirm your home’s compatibility while double-checking that your roof structure is sound. This final visit also involves checking your electrical panel to see if an upgrade is necessary.
Step 2: Paperwork
As with any big financial commitment, installing solar panels comes with a lot of paperwork. Although your installers will deal with most of this, it’s a good idea to know what the process involves. Especially since it often includes applying for state and federal solar incentives.
You’ll also need to apply for building permits specific to your state. Again, your installer will know the restrictions and requirements where they operate, and will often fill out any necessary paperwork for you. But, if you’re keen for your installer to get things up and running straight away, it pays to follow up with them on the progress of your paperwork.
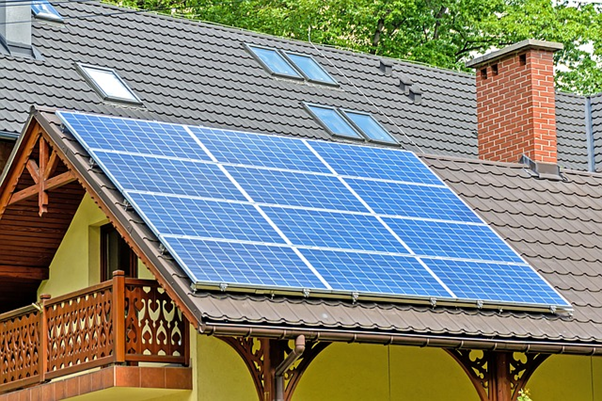
Step 3: Solar Panel Installation and Interconnection
With the paperwork and final property checks in order, it’s time to install the solar panels and inverters you chose when signing your contract.
Your equipment will usually arrive the day of your installation, which tends to be around one to two months after final paperwork approvals. Although, the best way to speed up the process is to get your solar panels installed in early winter when providers are less busy. The individual steps involved with installation are:
- Preparing the roof
- Installing the electrical wiring that will connect your electrical panel and general power system
- Installing the racking to support your panels
- Placing the panels onto the racking
- Connecting the inverters to the panels
This installation process can take from one to three days, depending on the size of your chosen system.
Then, the true final step is “flipping the switch” to start generating power from your roof’s solar panels. Although, before this happens, a local government rep will need to approve your installer’s work. Then, a representative from your utility company will come to give the final go-ahead for connecting your system to the power grid. The wait between these two visits and the final interconnection is usually two to four weeks.
Your Step-by-Step Guide to Home Solar Installation
As this quick guide to residential solar panel installation waukesha wi shows, going solar is an investment that merits further investigation. Although, finding the right professional solar panel home installation service will always be the best way to ensure that you’re fully informed going into the project. Want more informative insights and news updates? Be sure to check out our other posts for all the latest on everything from education tips to legal advice!