

Introduction
A patio cover is a great way to improve an outdoor living space. It provides shade, protects outdoor furniture, and allows homeowners to enjoy their patio in different weather conditions. Alumawood patio covers have become popular because they combine the look of wood with the strength of aluminium. When following an Alumawood patio cover installation guide, it becomes easier to understand the steps involved in setting up a durable and attractive structure. They are durable, low-maintenance, and suitable for modern homes. Understanding the basic installation process can help homeowners plan their patio project more effectively.
Planning and Preparation
The first step in installing an Alumawood patio cover is careful planning. Homeowners need to decide the size, design, and location of the patio cover. It should match the layout of the outdoor area and provide enough shade for seating or dining spaces.
Before starting the installation, it is also important to measure the patio area accurately. Proper measurements ensure that the structure fits well and remains stable. Some locations may require permits or approvals before construction begins, so checking local building regulations is a useful step in the planning stage.
Preparing the Installation Area
Once the planning is complete, the next step is preparing the installation area. The surface where the patio cover will be installed should be clean, level, and strong enough to support the structure.
During this stage, installers mark the positions where the support posts will be placed. Accurate positioning ensures the structure remains balanced and secure after installation.
Installing Support Posts and Frame
The support posts form the main foundation of the patio cover. These posts are carefully installed and secured to the ground or patio surface.
This frame connects the posts and provides the structure that will hold the roof panels. Each part must be fitted securely to ensure stability and durability.
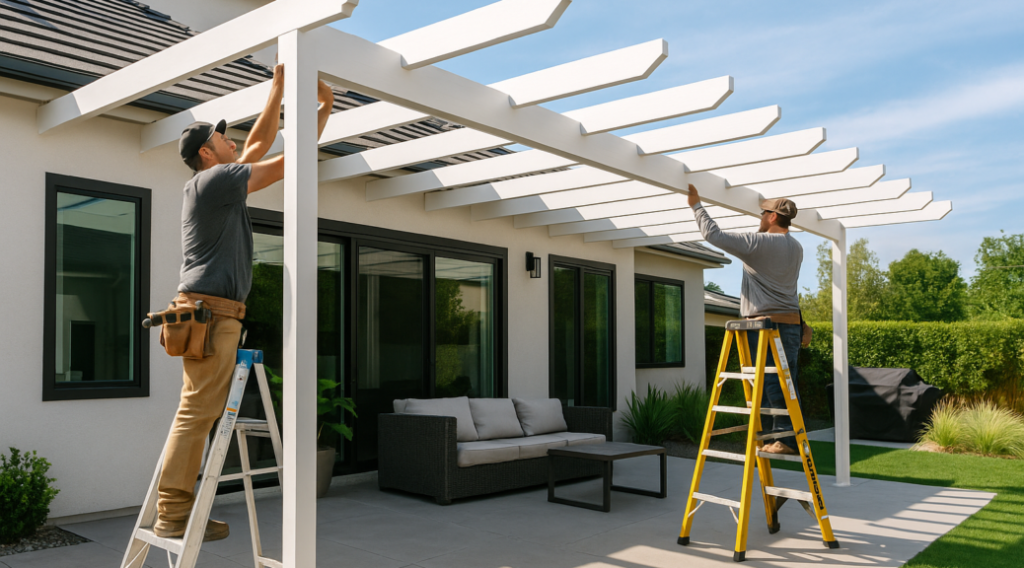
Attaching Roof Panels
Once the frame is ready, the roof panels are installed. These panels create the protective covering that provides shade and shelter. The panels are carefully attached to the frame and aligned properly so that they remain secure during different weather conditions.
Some patio covers may include insulated or solid panels, while others use lattice-style designs that allow partial sunlight to pass through. The choice depends on the level of shade and appearance homeowners prefer.
Final Inspection and Finishing
After installation is complete, a final inspection helps ensure everything is secure and properly aligned. All fasteners, joints, and connections should be checked carefully. This step helps confirm that the structure is safe and stable.
Homeowners may also add finishing touches such as lighting, outdoor fans, or decorative elements to make the patio area more comfortable and attractive.
Conclusion
Installing an Alumawood patio cover can significantly improve the comfort and functionality of an outdoor space. With proper planning, preparation, and installation, homeowners can create a shaded area that lasts for many years. These patio covers offer durability, low maintenance, and an attractive appearance, making them a practical addition to modern homes. By understanding the installation process, homeowners can make informed decisions and enjoy a well-designed outdoor living area.