
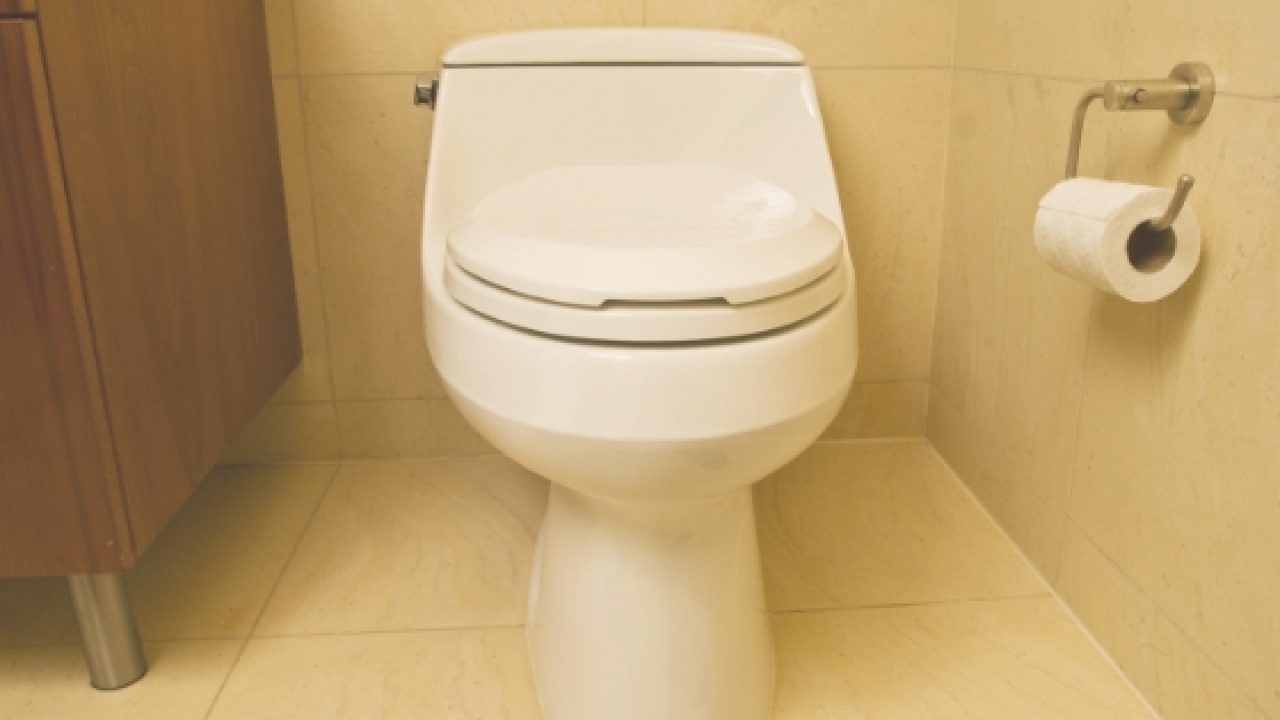
A fill valve, which is usually known as an inlet valve, is built with plastic into a tall pipe and then is fitted inside your toilet tank.
What an inlet valve basically does is that it sucks the water from the water pipeline supply system and stores it into your toilet tank while using a limit of when to cut the water off at a certain level.
Now, most of the new valves are automatically fitted and adjusted perfectly into their place and do not need any further adjustments.
At the same time, the older valves do require a little more attention and adjustments, but not always. It only depends upon what kind of fill valve you are getting for your toilet.
There are a lot of ways to adjust a toilet fill valve, and none of them are as hard as you think they would be, trust me. Here is a complete guide on how to adjust a toilet valve in some three steps! Let’s start!
Inspect your tank/ find out your valve’s type
There are mainly two types of valves, a rubber-ball or a tube valve. The water tanks that are a little older have the rubber-ball valves while the new ones are the tube valves.
Once you identify what kind of fill valve tank you have, it will be super easier and will feel like a piece of cake to adjust and fit your valve.
Stop the water and compare your tank’s water level.
Mostly, every tank has its own water level line, which can be seen pretty easily. All you have to do is just go ahead and shut your water source, so all the water in your tank is now fully locked without any sign of leakage.
Then you have to compare the water level line on your flush with the actual level of water; if the water level is too high or too low, then your fill valve needs adjustment.
Adjust your fill valve
- Tube valve
Search behind your toilet, and you will be able to find a pipe made out of either copper or silver that is coming out of your toilet and going in the wall; this pipe is the main supply line that gives water to the toilet.
Twist the supplied knob counter clockwise until it reaches its max, then get up and flush the tank once to get rid of the excess water(you don’t have to do this step if your fill valve has a screw connecting your fill valve to the float).
- Rubber ball
Search for the one screw that attaches the ball-cock to the fill valve. Follow the tube that is further connecting the ball-cock to the fill valve. Find the main point where it joins with the tank for a flathead or a Philips screw.
The tightness of this screw is important since it determines how high or low the water level fill line is.
If the water level is high, then loosen the screw a bit, while if it too low, then tighten the screw a bit to make the water at the same level as the ball-cock.