
Did you know that it’s often cheaper to install a pellet stove than a wood-burning stove? They also emit more heat and take up less space.
Have you considered installing a pellet stove in your home? Do you know how to install a pellet stove the right way? It can be an intimidating process if it’s your first time installing one.
The following guide will explain the steps you need to know to install a pellet stove like a pro. Read on and start enjoying pellet stove benefits in your home.
Pellet Stove Pad
Adding a fireproof pad is the first step to enjoying the benefits of pellet stoves. Choose the installation location of your stove and place the pad on the floor.
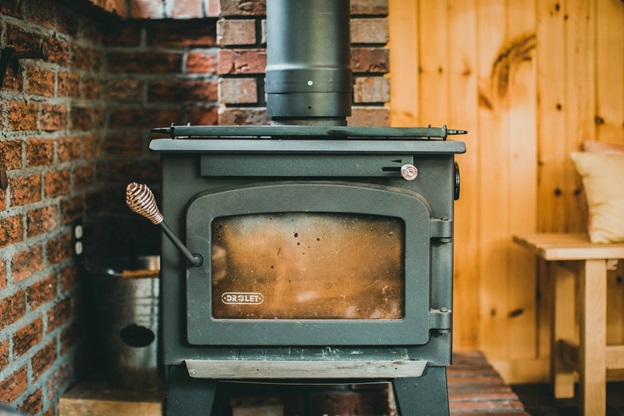
Next, set your pellet stove directly on top of the fireproof pad. Make sure to keep the stove a safe distance from combustible surfaces.
Ventilation Pilot Hole
Secure the vent pipe to your pellet stove temporarily. Then, make a ⅜-inch pilot hole in your home’s exterior wall.
Line up the pilot hole with the edge of your stove’s vent pipe. Trace the outline of the vent pipe onto your wall and detach the pipe from the stove.
Interrior Ventilation Hole
Mark the diameter of the inside wall thimble using a large divider. Place the divider in the center of the vent outline. Next, draw a circle onto the interior wall.
Cut along the bigger outer circle using a reciprocating saw. Repeat the same process on your home’s exterior wall to match the holes.
Exterior Ventilation Hole
Keep the exterior wall thimble in position and mark where it meets your home’s siding. Use the reciprocating saw and cut slots into each mark on the siding.
Cover the pipe that goes through the thimble with fireproof insulation. Push the exterior thimble against the wall and make sure it matches the slots you’ve cut. Next, screw the thimble into your siding.
Intake Vent
Connect the screen and elbow at the end of the ventilation pipe. Create a 2½-inch hole through the exterior wall of the house for the stove’s intake vent.
Always make the hole at least a foot away from the exhaust vent pipe. Bore a matching 2½-inch hole through your home’s interior wall.
Push your 2-inch round intake vent through the outside hole and into the room with the stove. Secure the mounting flange of the intake vent to the home’s siding.
Lay silicone caulk all around the intake vent where it goes through the inside wall. Glide the mounting plate evenly against your wall and screw it in.
Finishing Touches
Seal all the connections to the ventilation pipe with high-heat silicone caulk. Attach the exhaust pipe to the back of the pellet stove.
Next, attach the intake vent to the back of the stove.
Use a nut driver to tighten the hose-clamp connector. Connect an elbow at the end of the exhaust vent and secure it to the interior wall thimble. Then, attach the elbow to the vent pipe.
Finally, plug in the stove’s power source and add wood pellets to the stove’s hopper.
Understanding How to Install a Pellet Stove
Now you know how to install a pellet stove the correct way. Remember this guide and follow it closely to ensure your stove functions safely.
If you have any doubts, there are many professionals available to install pellet stoves. Check out our other home improvement articles for more helpful tips and tricks.